How to Install UpAccessibility on Your Wix Website
UpAccessibility can help you make your website more accessible and inclusive while remaining cost-effective. It offers a quick, dependable, and strong web accessibility solution that assures your website welcomes all visitors, including those with visual, cognitive, ADHD, seizure, dyslexia, and motor disabilities.
UpAccessibility can help your Wix website fulfill accessibility standards and requirements with a simple, no-code installation.
Let’s install the UpAccessibility widget using simple, step-by-step instructions.
Step 1: Log In to Your Wix Account
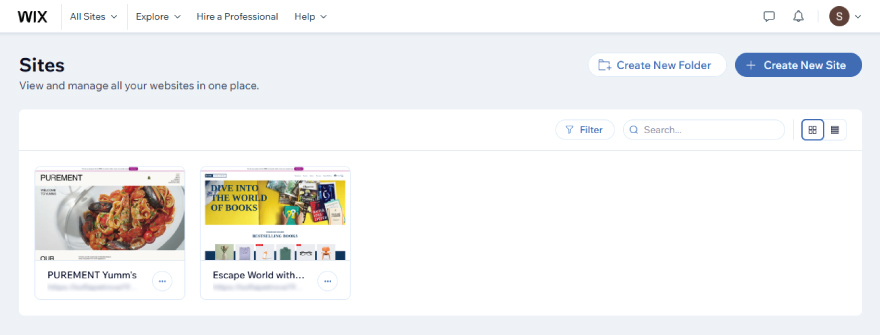
Go to wix.com and log in to your account.
Select the website where you want to add UpAccessibility.
Step 2: Open the Wix Editor
Click Edit Site to open the Wix Editor.
Step 3: Access the Wix App Market
On the left sidebar, click on the “Apps” icon (it looks like a small grid).
Select “App Market”.
Step 4: Search for “UpAccessibility”
In the App Market search bar, type “UpAccessibility”.
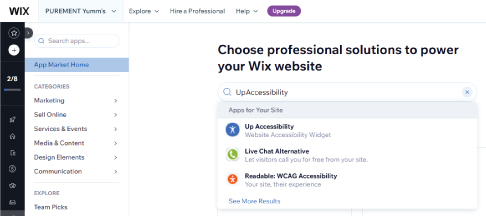
You’ll notice our accessibility widget – give it a click.
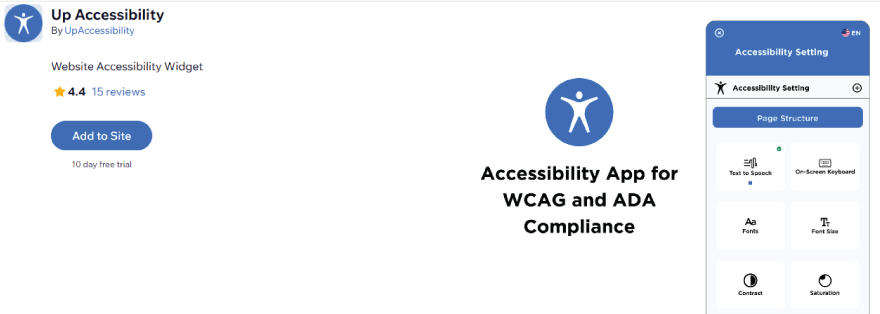
Step 5: Add UpAccessibility to Your Site
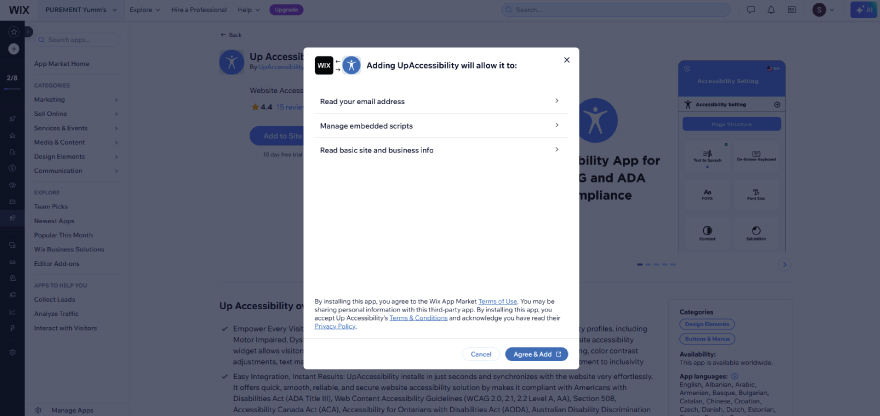
Then, hit the “Add to Site” button, and a new window will pop up.
At the bottom of this pop-up, click the “Agree & Add” button to confirm installation.
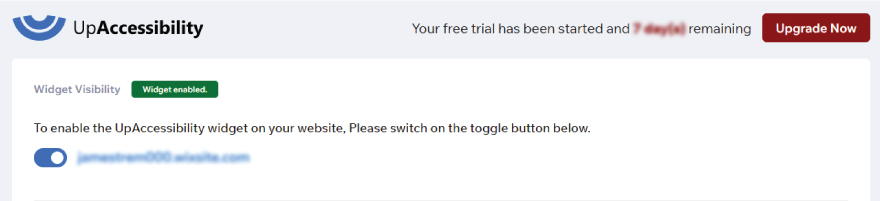
Step 6: Enable it
Scroll down to enable the widget by toggling the On/Off button.

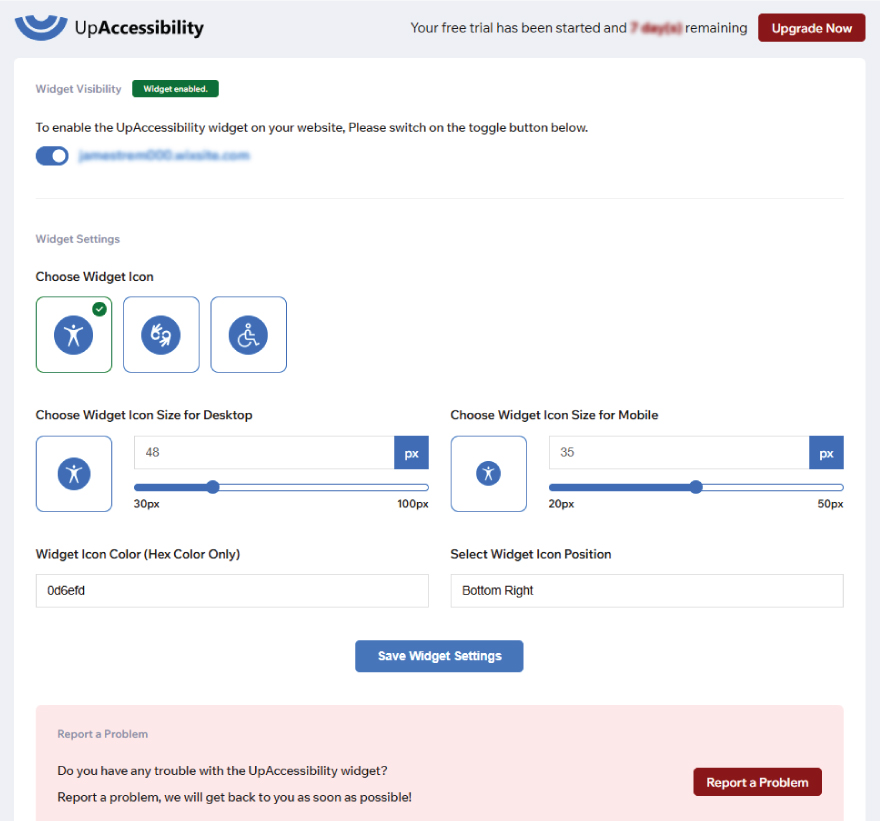
Step 7: Customize widget settings
Here you can customize the widget icon style, color, position, and size (for both mobile and desktop) according to your needs.
Remember to hit “Save Settings” before leaving the page or widget area.
Step 8: Publish Your Website
Save the widget settings, and click Publish at the top right of the Editor.
No coding is required — everything is controlled through an easy-to-use interface.
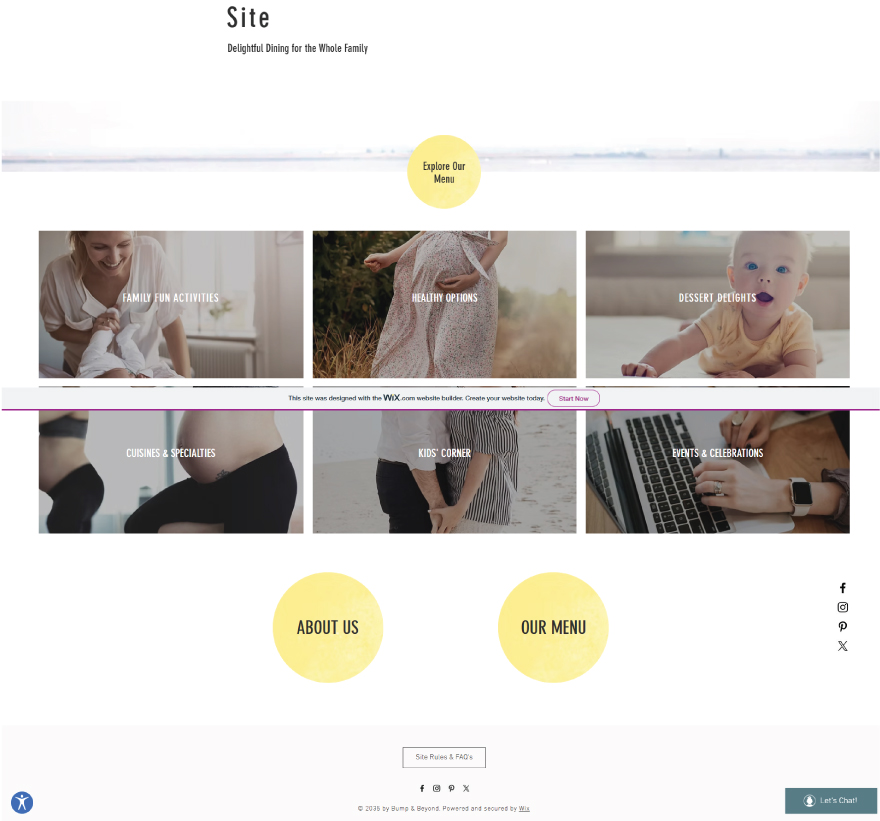
UpAccessibility is installed on your website and will automatically appear on every web page.